Client Onboarding for Service Businesses: A Complete Process Guide
Build a client onboarding process for your service business with welcome emails, intake forms, and payment setup.


The contract is signed. The deposit hit your account this morning. The new client is already drafting an email asking when you can start — and what they should send you, and how they pay you, and whether you need access to their building.
You have two choices.
You can answer each question as it comes in over the next four days, scattered across email, text, and a phone call you take from a job site. Or you can send one polished client onboarding sequence on day one that answers every question before it gets asked, sets the tone, and makes the client feel like they hired a real operation.
The second path costs you 90 minutes to build once. Then it runs on autopilot for every client who follows.
This guide walks through a complete client onboarding process for service businesses — welcome emails, intake forms, expectation-setting, payment setup, communication preferences, and a first-project handoff that finishes the way it started. Including templates you can paste into your own email tool today.
What Is Client Onboarding for a Service Business?
Client onboarding is the structured sequence of steps you take with a new customer between the moment they say yes and the moment your actual work begins. For a service business, that means confirming the agreement in writing, collecting the information you need to start, setting expectations around timeline and scope, and establishing how payments work — all before any billable work happens.
It is different from onboarding at a software company. There is no login flow or product tour. The “product” is you — your process, your communication, your reliability. The onboarding experience is the first proof that hiring you was the right call.
Done well, client onboarding for small businesses reduces scope disputes, speeds up payments, and generates referrals before the first deliverable lands.
Why Client Onboarding Matters More Than You Think
Onboarding is not a luxury reserved for agencies and consulting firms. For a one-person plumbing operation, a two-photographer studio, or a four-truck moving company, it is the moment your pricing gets justified or questioned.
Clients decide whether you are worth what they paid you in the first 72 hours. Not from the work itself — that comes later. From the experience around the work.
A few specific things tend to happen when service businesses skip a real onboarding process:
- The client emails three times asking for things you would have sent on day one
- A scope question gets answered verbally and forgotten by both sides
- Payment terms come up as an awkward afterthought when the first invoice lands
- The client calls a friend mid-project to ask “is this normal?” because no one told them what normal looks like
A few specific things tend to happen when you have one:
- The client refers you before the project is done because the experience already feels worth recommending
- Scope creep gets caught early because the boundaries were written down on day one
- Invoices get paid faster because payment expectations were set before any work happened
- You spend less time answering “did you get my email?” because the client knows what is coming next
The Harvard Business Review has reported that increasing customer retention by 5% can increase profits by 25% to 95%. The cheapest way to retain a client is to onboard them well enough that they never go shopping for a replacement.
The 5-Stage Client Onboarding Framework
Every solid onboarding flow for a service business has the same five stages. The implementation differs by trade — a wedding photographer’s intake form looks different from a roofing contractor’s — but the structure is the same.
- Welcome (within 1 hour of signing): confirm the deal and set tone
- Information collection (within 24 hours): gather everything you need to start
- Expectation setting (within 48 hours): outline timeline, communication, and process
- Payment setup (within 48 hours): collect deposit if you haven’t, confirm how the rest works
- Project kickoff (within 5 business days): start the work and confirm what is happening next
The whole sequence runs in the first week. After that you are doing the actual job, which is what they hired you for.
Stage 1: The Welcome Email
The welcome email goes out within an hour of contract signature, deposit payment, or whatever moment officially closes the deal. Faster is better. Speed signals that you are organized, and organized is what clients pay for.
Three things this email needs to do:
- Confirm the agreement in writing (what they bought, what they paid, what happens next)
- Introduce the next step before they have to ask
- Sound like a person, not a CRM
Welcome Email Template
Subject: Welcome to {Your Business Name} — Here’s What Happens Next
Hi {First Name},
Thanks for choosing {Your Business Name} for your {project type}. I am excited to get started.
Quick recap of what you signed up for:
- Service: {brief description}
- Timeline: {start date} to {expected completion}
- Investment: {total} ({deposit} paid today, {balance} due {when})
Here is what happens in the next 48 hours:
- You will receive a short intake form from me by tomorrow morning. It takes about 10 minutes and covers everything I need to start.
- Once that comes back, I will send a project schedule with key dates and what you can expect from me at each stage.
- We will hop on a 15-minute kickoff call on {proposed day} to walk through it together.
If you have questions before then, the fastest way to reach me is {preferred channel}.
Talk soon, {Your Name} {Phone} | {Email}
That email took five minutes to read but did seven things — confirmed the deal, set the cadence, named the next three steps, established a communication channel, and put a face on the company. The client now knows what is happening for the next two days without asking.
Stage 2: The Intake Form
The intake form is where most service businesses leak time. They ask for information piecemeal — a phone call here, an email there — and end up with notes scattered across three threads. A single intake form, sent once, pays back immediately.
What goes on the form depends on your trade. A few patterns:
| Trade | Information you actually need on day one |
|---|---|
| HVAC / plumbing | Property address, system age, model numbers, access notes (gate codes, dog warnings), preferred service window |
| Photography | Event date and venue, must-have shot list, family/group breakdown for portraits, song selections if applicable, contingency for weather |
| Moving | Origin and destination addresses, square footage, special items (piano, safe, art), parking and elevator details, packing scope |
| Graphic design | Brand assets and previous work, target audience, three competitor examples (love and hate), file format requirements, deadline |
| Childcare | Allergies, emergency contacts, custody and pickup authorization, medical history, sleep and feeding routines |
| Cleaning | Square footage, pet situation, any room exclusions, supplies preference, recurring schedule preferences |
Two rules that separate a useful intake form from an annoying one:
- Only ask once. If they wrote their address on the contract, do not ask again. Pre-fill what you can.
- Explain why for anything sensitive. “We ask about pets so the techs can plan for cat-friendly product.” Two-sentence justifications turn paranoia into trust.
Tools for this range from a plain Google Form to dedicated client-portal software. Whatever you use, make sure the data ends up somewhere you can find it three months later when the client calls back for round two.
Stage 3: Setting Expectations
This is the stage every service business undervalues and every premium service business gets right. Setting expectations is not a defensive move — it is a differentiation move.
Cover four things explicitly:
Communication Preferences
Tell the client exactly how you communicate, when you respond, and what to do for emergencies.
Our communication standards:
- Email is the primary channel. We respond within one business day.
- For urgent issues during a job, text is fastest — {phone number}.
- We are reachable Monday through Friday, 8 AM to 6 PM. After-hours calls go to voicemail and we return them the next morning.
- For a true emergency (water leak, lockout, no heat in winter), use our emergency line: {number}.
Two sentences here save you fifty interruptions later.
Timeline and Milestones
A timeline document or even three bullets in an email beats no timeline. Name the milestones, what triggers each one, and what you need from the client at each.
Project timeline:
- Week 1 — Discovery and planning. We need the intake form back by {date}. Deliverable: project schedule.
- Weeks 2–3 — Execution. First check-in {date}. We send progress photos and an update every Friday.
- Week 4 — Completion and walkthrough. Final invoice 24 hours after walkthrough sign-off.
Decision Points and Approvals
If your work needs client sign-offs at certain stages, name them now. “I will send the design proof for approval by day 10. Standard turnaround for revisions is 48 hours.” Clients who know when their input is needed give it on time.
Before you set those expectations, though, make sure you have a signed estimate that defines them. The expectation-setting stage works best when the scope came from a written estimate the client reviewed and agreed to — not from a verbal conversation you both remember differently.
Scope Boundaries
The single biggest source of friction in service work is scope creep. Address it head-on, in writing, in a tone that is friendly but specific.
What’s included in this project:
- Two revision rounds on the design
- One in-person walkthrough during installation
- Email and text support during business hours
What’s outside this project (available at additional cost):
- Additional revision rounds beyond two
- Rush turnaround under 48 hours
- Work performed outside the agreed scope
This conversation is much easier to have on day one than on day forty when the client asks for “just one more change.”
Stage 4: Payment Setup
Payment is part of onboarding, not a separate event after the work is done. Handle it during onboarding and you will not be having awkward email exchanges three weeks later.
A clean payment-setup conversation includes:
- Deposit — collected at signature, confirmed in the welcome email
- Payment schedule — when each subsequent payment is due (milestone-based, weekly, monthly, or final)
- Accepted methods — card, ACH, check, cash. Be explicit about which you prefer and which incur a surcharge if any.
- Late-payment policy — net terms, grace period, late fee. Stated calmly. (For a full escalation sequence when a payment slips, see how to handle late paying clients.)
- Auto-pay option — for recurring services, set up auto-pay during onboarding so it never becomes a question later
Not sure which payment terms to set? The invoice payment terms guide breaks down Net 30, Net 15, Due on Receipt, and milestone-based options with examples for different service types.
Save the Client’s Information Once
Here is the part of payment setup that pays back the longest. Capture the client’s complete billing profile during onboarding — legal name, billing address, email for invoices, tax ID if relevant, preferred payment method, payment terms — and store it.
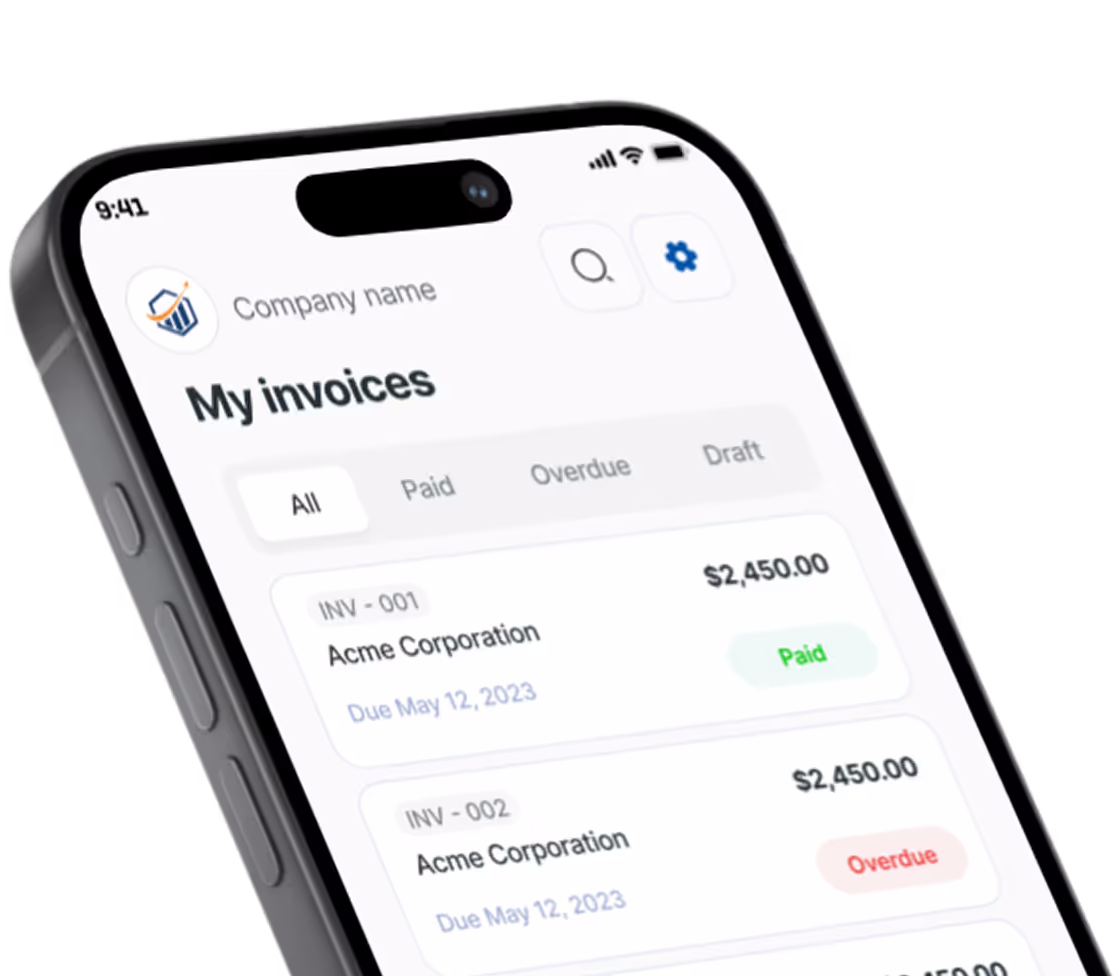
This is where the operational angle of Pronto Invoice shows up. When you save a client’s information once, every future invoice for that client takes seconds. You speak or type the line items, the system fills in everything else — billing address, payment terms, invoice number, formatting, branding — and the invoice goes out before you have left the driveway.
The first invoice takes the time it takes. Every invoice after that is fast because the data is already there. For service businesses with repeat clients (and most of them are), this compounding savings is the real ROI of doing onboarding well.
Stage 5: The Project Kickoff
The kickoff is the bridge between onboarding and actual work. It can be a 15-minute phone call, a written kickoff document, or a short in-person meeting. The goal is the same: confirm everything is aligned before any billable work begins.
Cover these in the kickoff:
- Recap of agreed scope and timeline — yes, again. Repetition reduces disputes.
- Confirm key contacts — who decides things on the client’s side, who you talk to for what
- Walk through the intake form responses — flag anything that needs follow-up
- Confirm the first-week deliverable — what the client should expect from you within seven days
- Open floor for questions — you are inviting them to bring up concerns now, when they are easy to address
End the kickoff with a follow-up email summarizing what was discussed. This becomes your reference document if anything gets disputed later.
Kickoff Follow-Up Email Template
Subject: {Project Name} — Kickoff Recap and Next Steps
Hi {First Name},
Great call this morning. Here is a summary of what we covered, so we are both working from the same page.
Confirmed scope: {one-sentence summary} Timeline: Start {date}, target completion {date} Your point of contact on my side: Me, {phone}, {email} My point of contact on your side: {their name and role} First deliverable: {what they will receive and when}
Open items:
- {anything pending — for example, “Need final logo files by Friday”}
I will be in touch on {first check-in date}. If anything comes up before then, just reply to this email.
Thanks, {Your Name}
Onboarding for Repeat and Returning Clients
A small but important note: clients who hire you a second or third time do not need the full sequence. Sending a returning client a 5-stage onboarding flow they already saw a year ago feels mechanical and wastes their time.
For returning clients:
- Skip the intake form. Reference the prior project and ask only about what has changed.
- Send a short “welcome back” email confirming the new project’s specifics.
- Move straight to expectation-setting and project kickoff.
Repeat work is where saved client data earns its keep. The whole onboarding sequence collapses to a 5-minute setup because everything they told you last time is still in your system. For services that recur on a fixed schedule, setting up recurring invoices means billing runs automatically — no manual send, no missed invoice dates.
Common Client Onboarding Mistakes to Avoid
A short list of patterns that break the experience:
- Onboarding by phone calls only. Verbal agreements get forgotten. Put it in writing — email, document, anything searchable.
- Asking for the same information twice. Cross-reference what they sent on the contract or quote before drafting your intake form.
- Setting vague timelines. “We will start sometime next week” tells the client nothing. “We start Wednesday at 9 AM and the first deliverable is Friday by end of day” tells them what they need.
- Hiding payment terms until invoice time. If your terms are net 15, the client should see “net 15” three times before the first invoice — in the contract, in the welcome email, and in the kickoff recap.
- Not naming what is outside scope. Inclusion is half the contract. Exclusion is the other half. Say both out loud.
- Going dark for three days after signing. The first 72 hours after a client says yes are when buyer’s remorse forms. Stay visible.
Client Onboarding Checklist
Use this as a one-page cheat sheet you keep open while a new client moves through the funnel.
Within 1 hour of close:
- Send welcome email confirming agreement and next steps
Within 24 hours:
- Send intake form with explanation of why each section matters
- Save client billing profile in your invoicing system
Within 48 hours:
- Send timeline and expectation-setting email
- Confirm payment schedule and accepted methods
- Schedule kickoff call
Within 5 business days:
- Hold kickoff call
- Send kickoff recap email
- Begin first deliverable
- Set first check-in date
Ongoing:
- Weekly progress update (Friday end-of-day works well)
- Send invoices on the day they are due, not after
- Close every project with a thank-you note and a referral ask
Frequently Asked Questions About Client Onboarding
How long should client onboarding take for a small service business? The active onboarding sequence — welcome email through project kickoff — should fit inside the first five business days. After that you are doing the actual work. If onboarding drags into week two, it usually means information collection is bottlenecked; a single intake form sent on day one fixes this for most trades.
What is the most important part of the onboarding process? Setting payment expectations before any work begins. Scope disputes are painful but survivable. Surprised clients on invoice day cause cancellations, chargebacks, and bad reviews. Getting payment terms, schedule, and accepted methods documented in the first 48 hours prevents the majority of payment problems.
Do I need special software for client onboarding? No. A welcome email template, a Google Form for intake, and an invoicing tool that saves client billing profiles covers 90% of what most service businesses need. Dedicated client-portal software becomes useful when you manage ten or more active clients at once and need shared document access or automated status updates.
How do I onboard a client who hired me before? Skip the intake form. Reference their last project, confirm what has changed (new address, new contact, different scope), and move straight to a kickoff email confirming the new project’s specifics. The goal is to feel efficient, not to make them repeat information you already have.
What Good Onboarding Earns You
A premium onboarding experience does not just feel nicer. It produces specific business outcomes you can measure:
- Faster payment. Clients who understood the payment schedule on day one rarely dispute the invoice on day thirty. If you want to take this further, sending payment reminders at the right intervals closes the loop after onboarding ends.
- Less scope creep. Boundaries written down stay written down.
- More referrals. Clients refer based on the experience, not just the deliverable. Onboarding is half the experience.
- Higher pricing power. Clients who feel like they hired a real operation accept real-operation pricing.
- Faster repeat business. When the second project starts, you skip 80% of the setup because the data is already saved.
The 90 minutes you spend building your onboarding sequence pays back on every client who comes through it.
Ready to Build Your Onboarding Workflow?
Start with the templates above. Copy them into your email tool, replace the placeholder text with your business specifics, and send the first one to your next new client. Iterate from there — every client teaches you something to refine.
When you are ready to make the invoicing side of onboarding faster, save your client’s billing information once with Pronto Invoice. After the first invoice, every future invoice for that client takes seconds — because the data is already there.
The work you do is worth what you charge. Onboarding is how you prove it before the first deliverable lands.
There is always something more to read

Best Business Review Sites for Small Business (2026 Guide)
Which review sites drive calls, how to ask for reviews, respond to negatives, and avoid review gating penalties.

CRM for Small Business: Do You Actually Need One? (2026 Guide)
Honest CRM guide for small business: when a spreadsheet works, signals to upgrade, key features, and avoiding overbuying.

How to Fire a Client Professionally (Scripts and Decision Framework)
Warning signs, profitability test, three exit scripts, and a transition checklist for ending bad client relationships.